Seven Steps for Creating Digital Creature Illustrations
At Onlea we create illustrations to help explain and demonstrate the knowledge being communicated in our online courses. Each course has a unique art style, which is choosen based on the subject matter.
In 2016, we launched Theropod Dinosaurs and the Origin of Birds. This course’s art style needed to be an update on Dino 101’s style. In this blog, Onlea’s senior design strategist, Veronica (Vera) Krawcewicz, takes us through the process used to produce the creature illustrations used in this course.
Holding a B.Des. with Distinction from the University of Alberta, Vera has over six years of experience as a design strategist with focus in user experience. She has a proven record of delivering high quality digital media products with an attention to detail and creativity. Vera is also a talented artist and is well known in the Edmonton art community. She exhibits her work in mixed media, watercolours, and charcoal, at Edmonton’s annual Art Walk event in July.
Steps for Creating Digital Creature Illustrations:
- Find reference imagery
- Draw a sketch
- Trace a solid outline
- Shade in the form in grey scale
- Add colour layers
- Add highlights
- Mask out background
These steps are written with the assumption that you have access to a cintiq or tablet, and Adobe Photoshop, as well as proficient drawing skills.
1. Find Reference Imagery
Find photos and information about the creature you would like to draw. Learning the basic anatomy of your subject goes a long way to help make your drawings more believable and accurate.
2. Draw a sketch
Equipped with images and information about your creature, you are now ready to draw a rough sketch.
- Open Adobe Photoshop
- Create a new document*
- Add a new layer and name it accordingly**
- Sketch in a colour that is not black (so that it will be easier to trace over later)
*Since our drawings go into videos, our document size is 1080px tall by the width needed for the creature.
**Working on different layers is important, so you can just hide this layer later.
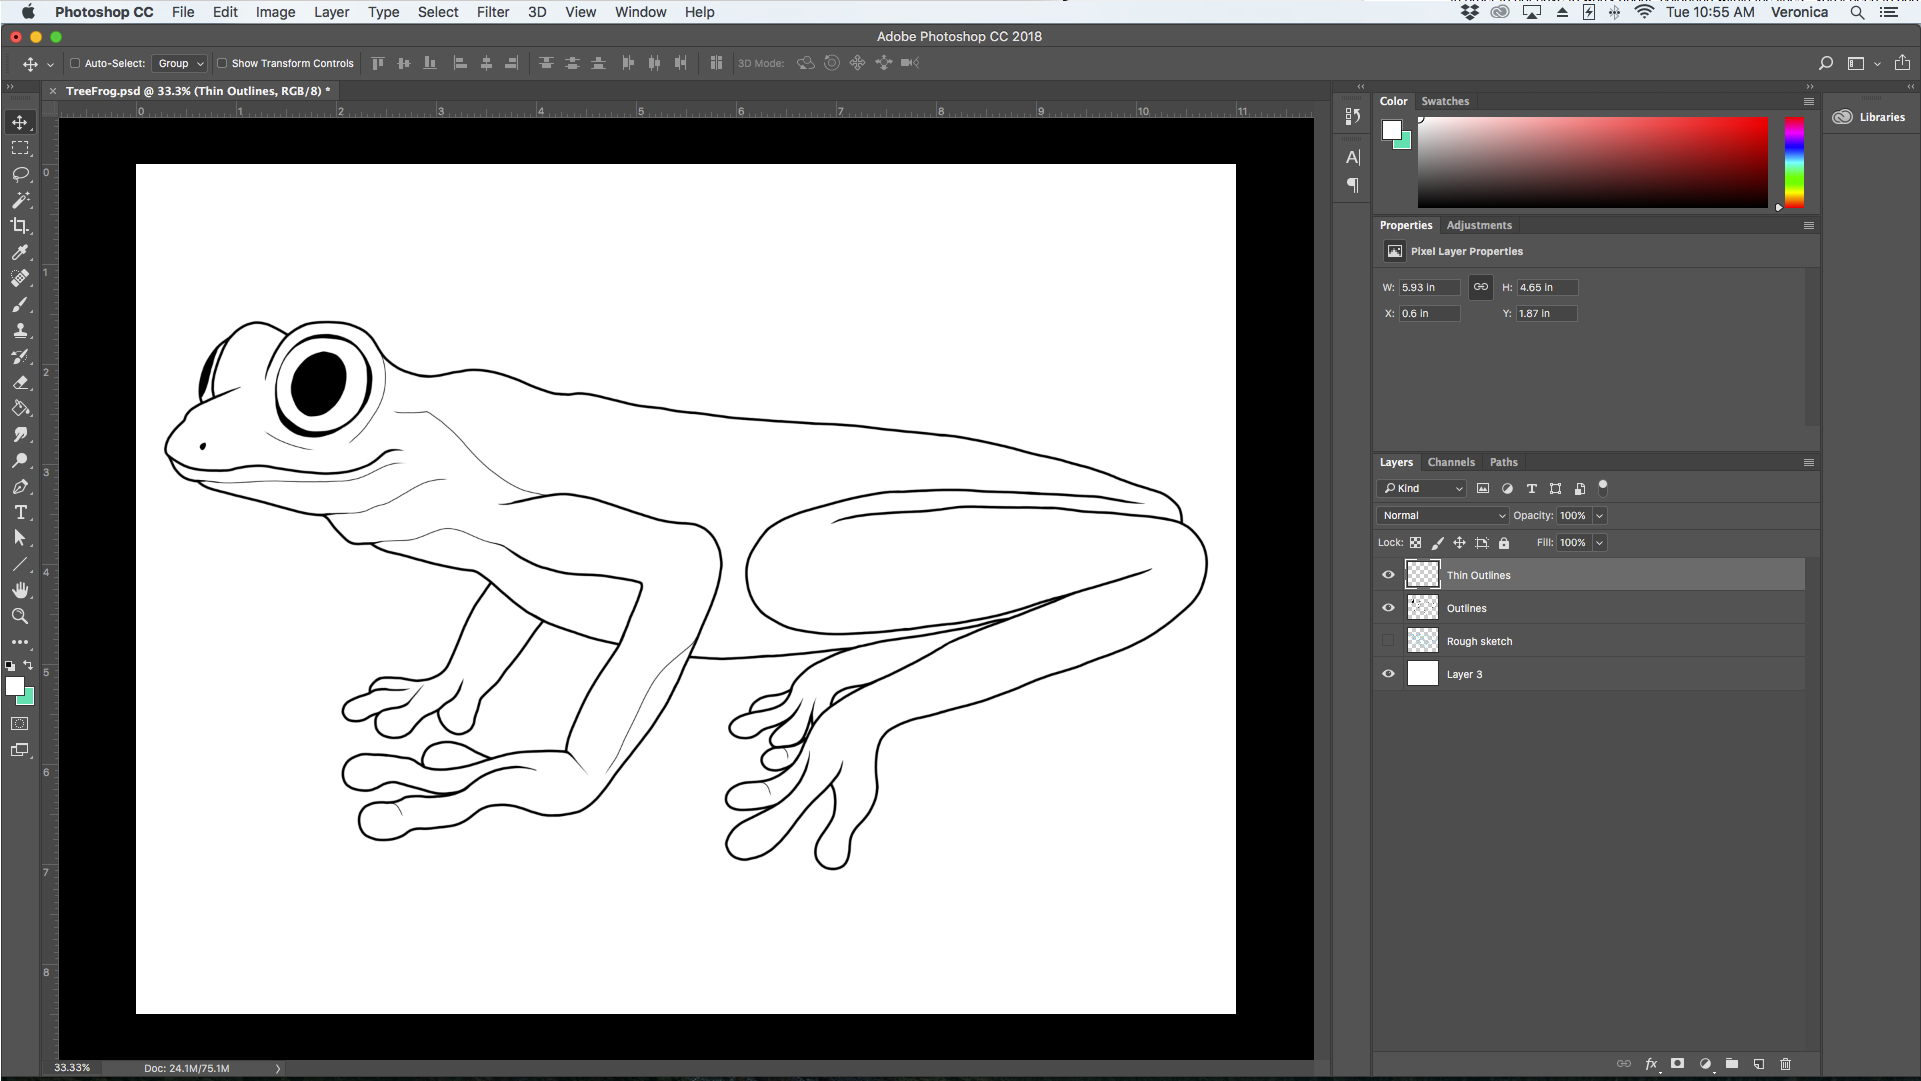
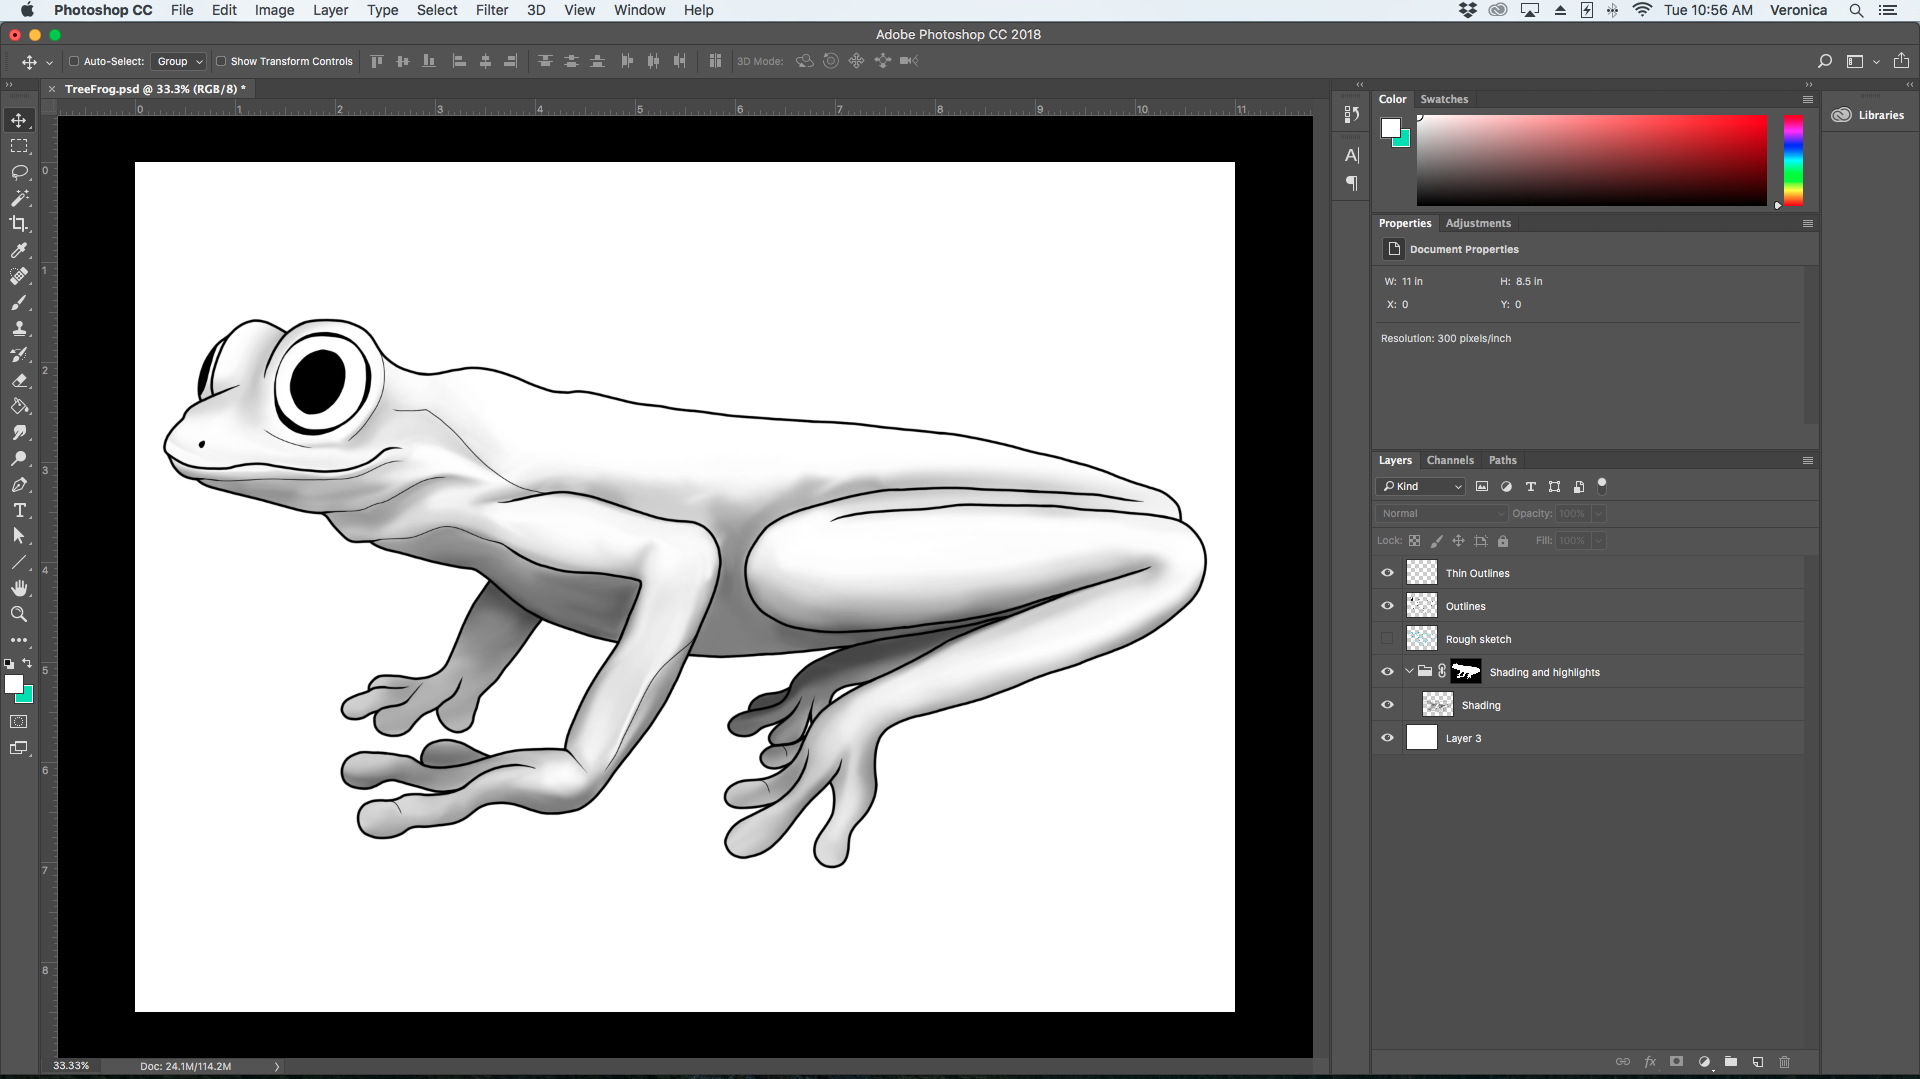
3. Trace your outline
This step may take a few attempts, first create a new layer, and name it accordingly. I use a 8px hard round brush at 80% hardness. Try to trace a steady outline of the creature with a thicker outline than you will be using inside the creature. You might need to erase bits and try again. Set the hardness of your eraser to match the hardness of your brush. This way you can use it to help clean up mistakes, without making it obvious.
Tip: It’s easier to slide you hand along your tablet or cintiq without sticking if you put a piece of tissue paper under your hand or wear fingerless mittens.
Next up, add all of the other line work. I like to use the hard round pressure size brush for this, so that I can vary the weight of the line. The linework inside the body of the creature should be thinner than the outlines.
4. Shade in the form using grayscale
Create another folder in between the line layers and the background layer. Make as many shading layers as you need in that folder.
In order to not have to worry about “colouring within the lines”, you’ll need to add a masking layer to that main shading folder.
- Select your outline layer
- Pick the magic wand tool from the right menu
- Click on all background image space
- Ensure all background image space is selected. You may need to use other selection tools to fix any issues
- Use the refine edge menu, and adjust the controls to shift the edge to the center of our outlines
- Invert your mask
- Change your layer to the grayscale folder, and apply the mask to that layer
Making this mask saves a lot of time, and also reduces the risk of not erasing a small piece of spilled colour.
I like to use the soft round pressure opacity brush to create the soft-edge shadows in the creature.
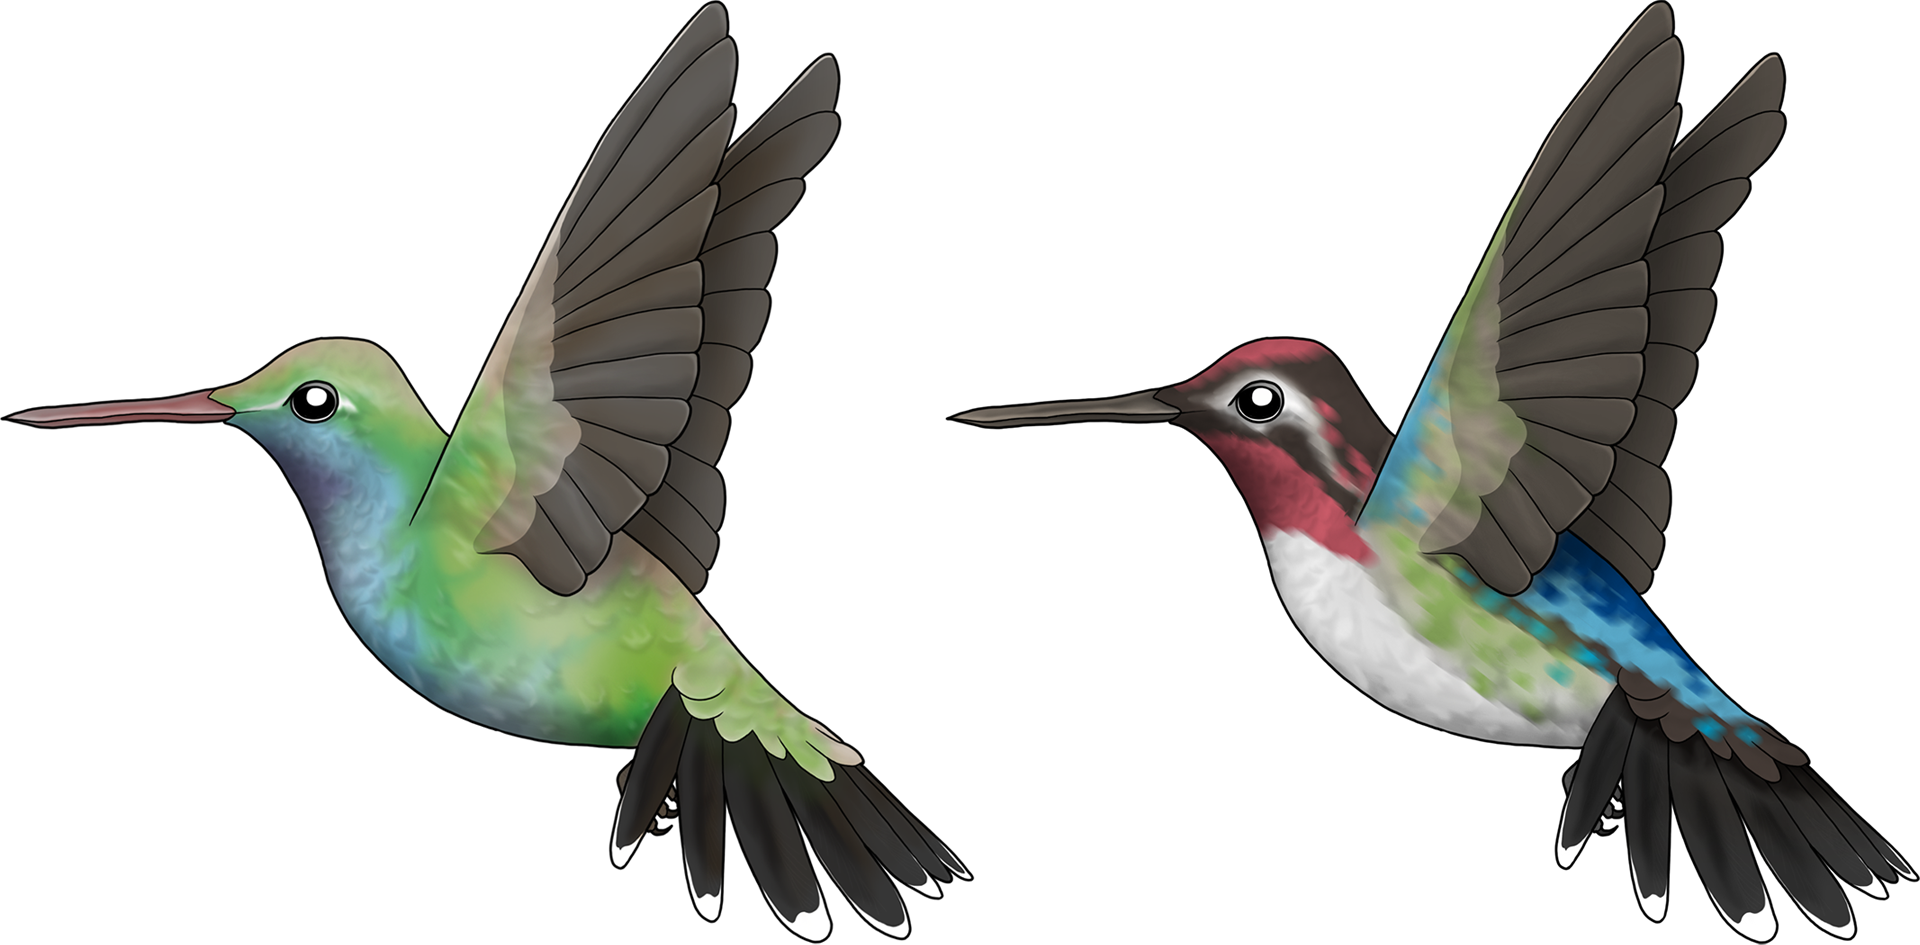
5. Add colour layers
Create a folder above the grayscale layer. Set the blending settings to multiply. Duplicate and apply the mask, that was used in the previous step to this folder as well.
In this folder you can now create various layers for colours. Use the brushes you need to achieve the desired patterning.

This method of drawing the shading and the colours on different layers, allows you to easily change the colours later, without having to alter the shading again.
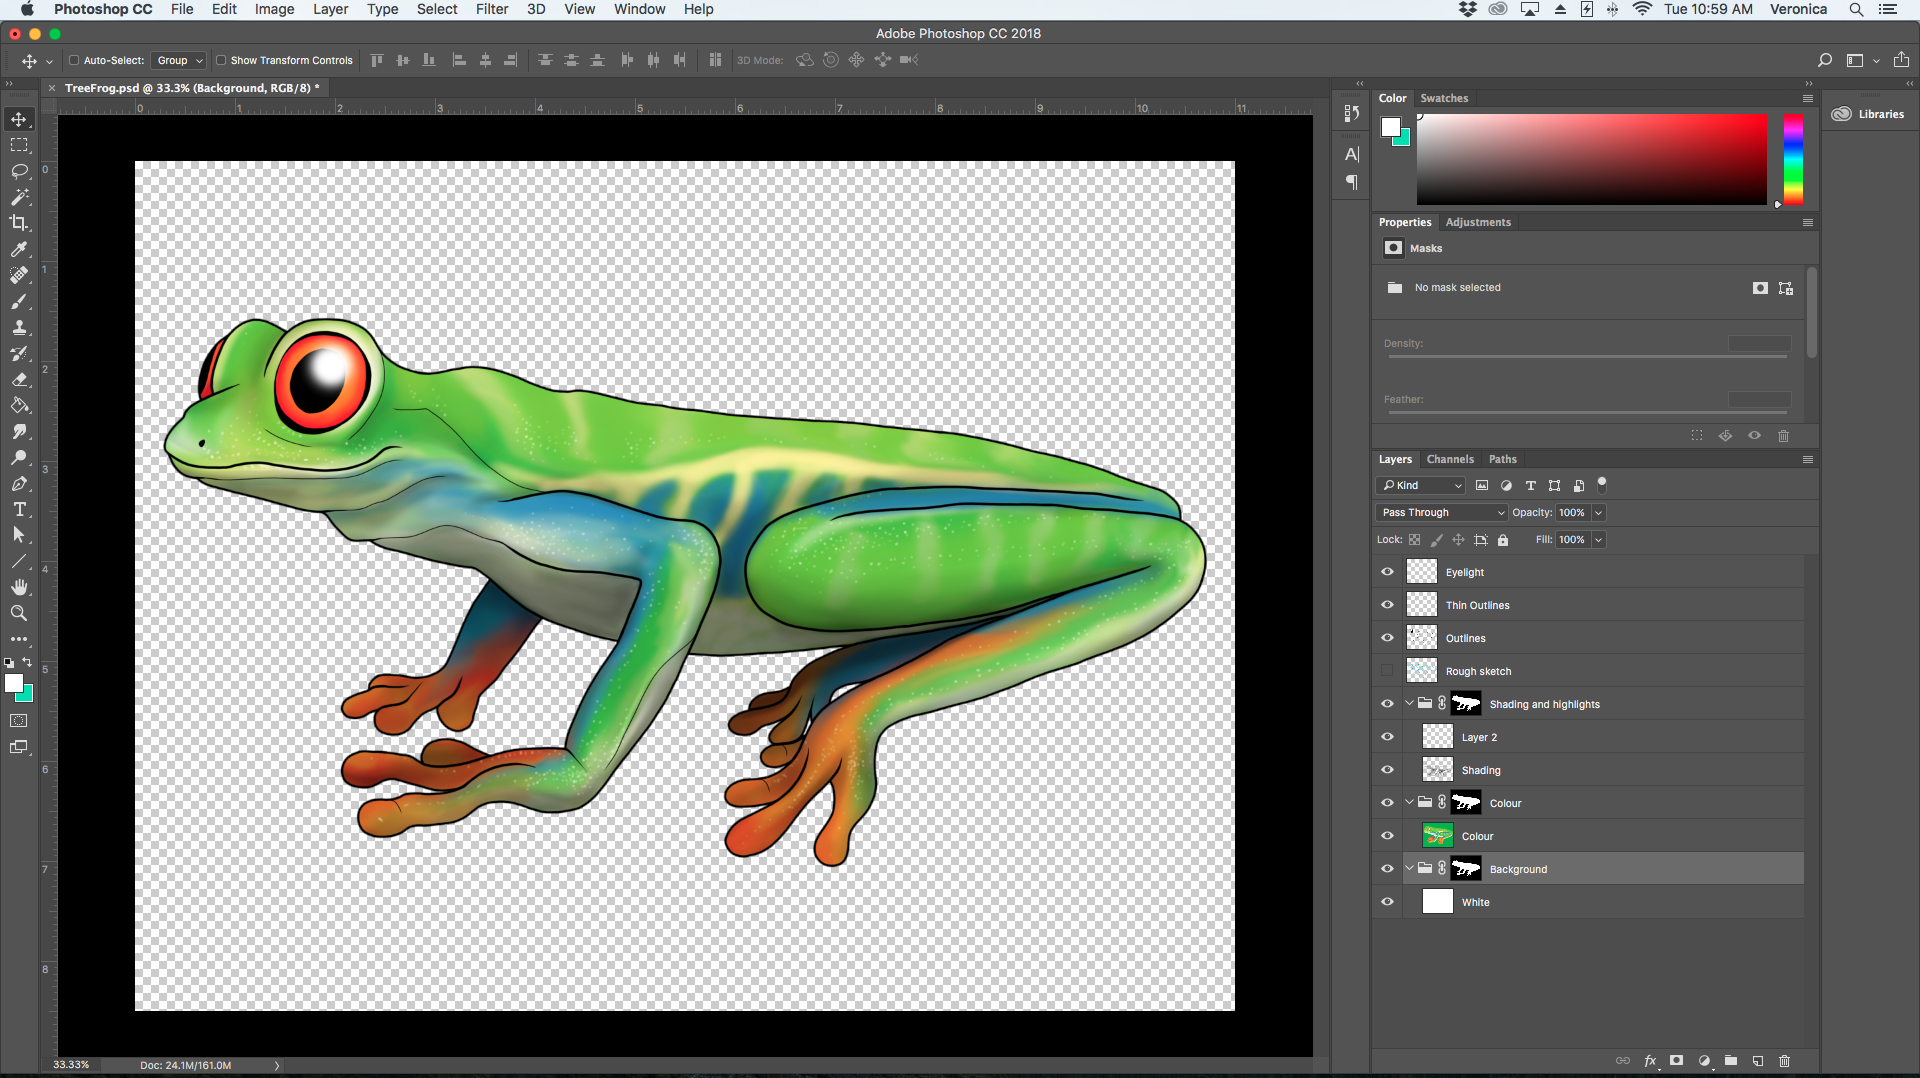
6. Add highlights
Create another layer above all of the other layers. For this, I drew in the frog’s eye-light and other highlights on this layer.

7. Mask out the background
To remove the background around the creature, either move the background to the very bottom of the Shading folder, or hide the background layer and add an new white layer to to bottom of the Shading folder.
Now You’re Drawing Like a Pro!
Once you’re done with your creature, export the image in the format you need it in and share it with the world!